Thursday, May 27, 2010

Oven Roasted Corn

How are you all? The weather is getting better everyday and to be frank I am sad that I'll miss the best part of summer this year because we are leaving for India. Of course India trip is quite exciting and it will be monsoon in Kerala which I haven't seen or felt for ages.

This may be the last post before I leave, but you will be seeing many more recipes from me since I have so many in my drafts which Sunitha will duly post. But I won't be able to come and visit you regularly as I used to while I'm away.  However, I hope you will continue giving us your love and support as always.  I will share a simple snack today which I am sure many of you already make. This is for those who do not have a gas top or grill at home.   Baking the corn.  I'll soon update a post on grilling corncobs once I am back from India.


Ingredients:

Corncobs
Butter
Salt
Lemon Wedges

Method:

1.Preheat the oven at 450 degree F.
2.Clean up the corn , brush them with butter and sprinkle some salt, and place them on a baking sheet which has aluminum foil on it.
3.Bake for 30-40 minutes, turning them every 10 minutes.
4.Once they are cooked well, change the oven to broiler and broil them at 500 degree F for 10-12 minutes. Change the sides every 4-5 minutes.
5.Brush some more butter and rub with the lemon wedges and serve warm.


Contributor : Namitha

Wednesday, May 26, 2010

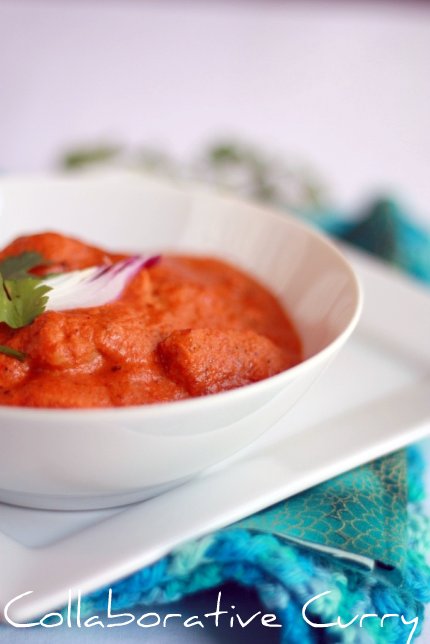
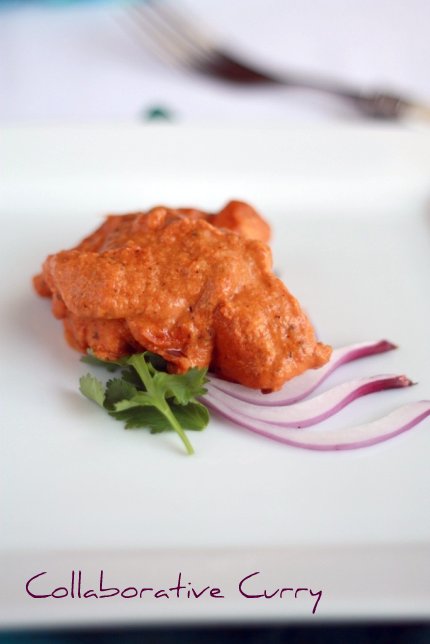
Butter Chicken

   The summer days in Nashville are proving to be quite exciting.  Yesterday I went out to see the Chihuli exhibit in Cheekwood gardens.  They are beautiful artwork with blown glass.  I hate seeing very colorful, jazzy stuff in my favorite garden but I have to agree that it was quite tastefully presented keeping in sync with  colors around.  Obviously, I was tired after hours of walking around garden, and getting back home to cooking was the last thing on my mind.  However, there was nothing to eat at home so I had to cook.  I know I could buy something out but then again I wanted to eat Indian and it we don't have any close by.  I took the chicken breast I had frozen and cooked some butter chicken.  Since it was a small quantity it was not too much labor and this I hope will help some of you out there who like smaller proportions for cooking.  The effort was worth it though I could have done without cooking yesterday.  I hope you enjoy this recipe. 

Ingredients:

Chicken - 2 breasts

Marination
Yogurt - 1/3 cup
Chili powder - 1 tspn
Coriander powder - 1/2 tspn
Garam Masala - 1/2 tspn
Kasturi Methi - 1 pinch
Salt - 1 tspn
Turmeric Powder - 1/4 tspn

For the Gravy:
Cumin - 1/4 tspn
Black cumin - 1/4 tspn (shah jeera)
Onions - 1 medium size
Ginger - 1 Tbspn chopped
Garlic - 5 plump cloves chopped fine
Tomato - 1 Big (blanched, peeled)
Oil        - 2 Tbspn
Chili Powder -  1 1/2 tspn
Coriander Powder - 1/2 tspn
Garam Masala - 1 tspn
Kasturi Methi - 1 Pinch
Butter   - 1 Tbspn

 Method:
1. Mix all the ingredients for marination and mix in chicken breast cut in small pieces and keep aside for 1/2 hr to 1 hr
2. For the gravy: Heat oil in a pan and splutter both the cumin
3. Add the finely chopped onions and saute followed by ginger and garlic till translucent or even a little more done but I did not brown the onions
4. Switch off the fire, add in all the powders serve it out into a bowl and keep aside to cool
5. Once cool grind the onion mixture to a paste.  You could also add your blanched tomato at this time since it will give enough moisture to make a puree of all the ingredients together
6. Cook the chicken in the oil left from frying the onions on medium heat. This is to cook the chicken keeping it's juices intact.  So increase the heat a little but make sure the chicken is not overdone or brown.  When all the yogurt gravy sticks to the chicken and its cooked through add the ground puree
7. If you feel the gravy need more cooking allow it to cook with the chicken on medium to low fire for 10 to 20 minutes.  The gravy will bubble and splutter so you cook close it but also be aware the gravy tends to burn easily so make sure you are stirring it intermittently.  If you want the gravy thinner add water and let it come to  a boil.  I did not add any water since I wanted a thick gravy
8. Once the gravy is cooked add 1/4 cup of fresh cream, stir in and turn the fire off
 Contributor: Sunitha

Monday, May 24, 2010

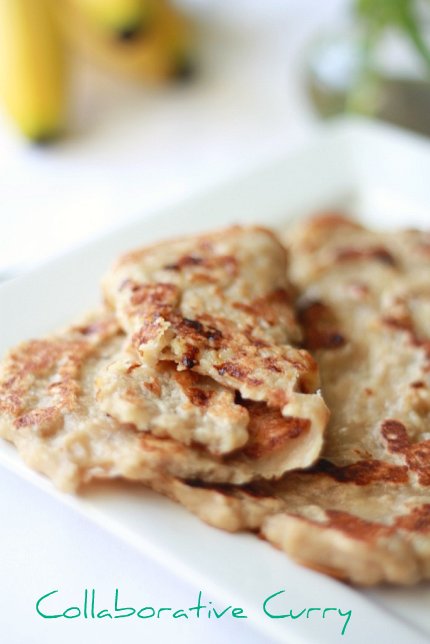
Gothamb Ada (Unleavened Pan Cake with whole wheat flour and banana)

        Hope the spring/summer weather is treating you well.  We are enjoying some beautiful, though humid weather here in the south of U.S.  After a brisk walk around the block and some 'tread milling' in the gym I am feeling quite good.  Apparently, I had a roaring hunger when I got back home.  Grabbing a couple of ingredients I made some pan cake for myself. Growing up, my mother made this once in a while.  It's one of those lazy day breakfasts that can be put together in a jiffy.  Load with butter and coconut I love it but now resort to a little healthier version.  They are not a fancy fare unless your taste is an earthy, old fashioned one.  I find the uneven curly 'ada' quite to my taste in looks and taste. Hoping you will enjoy it too here is today's recipe.
Ingredients:

Whole wheat flour - 1/2 cup
Banana                  - 2 small or 1 big
Sugar                    - 1 tspn
Salt                       - 1/8 tspn
Milk                      - 3-4 Tbspn
Coconut                - 2 tspn
Method
1. Mash bananas and mix together with wheat, salt and sugar and coconut
2. Add milk to make the batter a little softer
3. The batter is the consistency between a bread dough and pan cake dough
4. Heat a pan and spray a little oil
5. Ladle half of the batter into the tawa and spread using your fingers. 
6. To avoid the dough from sticking to your fingers dip you fingers in water and then slowly spread the dough to make a round cake
7. Cook on both sides till a lightly browned.


Contributor: Sunitha