Hello everyone! I’m sure the extended weekend was reason enough to give thanks! How was your Thanksgiving dinner? How many of you filled up your houses with Black Friday shopping? Did you wait outside the stores to grab the door busters ?
Most of my shopping was done online or on Saturday. I have never been to see the mad rush at the opening hours on Friday, and I don't think that I would ever do it sacrificing my precious sleep ;-)
We had a fantastic Thanksgiving Turkey dinner at our friend's place! Everybody had a great time with so much fun and lots of good food. My daughter made me promise to make a pumpkin pie for her this year and I did. It came out so well, and I'm glad to share the recipe with you all. Next time I will try to make the pumpkin puree also at home :-)

My family loved it and I can assure you that it is much better than the store bought ones :-)And I loved the Pate Brisse

Now a pictorial of the process
Disclaimer: The pictures are not the best. I had to manage the process, the camera , a 9 year old and a toddler who is still in his terrible 2 ;-)
The first 4 steps of pie crust making. Cutting the butter, mixing the flour with salt and sugar, mixing in the butter and adding water

Make a disc out of the dough, cover it and chill.Also rolling out

Transferring the disc and pinching the sides.

The final steps. Making the filling and baking the pie

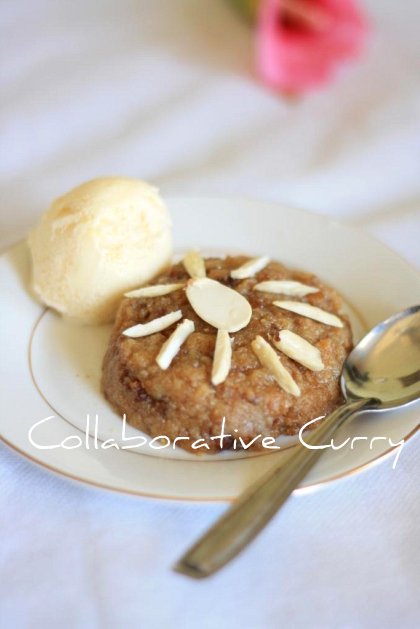
And last but not the least, a slice for you ;-)

Ingredients
For Pie crust(Pate Brisse):
Flour- 1 1/4 cup
Salt- 1/2 tsp
Sugar- 2 tsp
Ice cold water- 3-4 Tbsp(I used 3 1/2 Tbsp)
Butter- 8 Tbsp
For Pumpkin Pie filling:
Pumpkin puree -2 cups (I used store bought organic puree)
Eggs -3
Brown sugar- 3/4 cup
White sugar -1/4 cup
Salt -1/4 tsp
Cinnamon -2 tsp
Ginger powder -1/2 tsp
Cloves -1/4 tsp
Cardamom powder - 1/4 tsp
Nutmeg - 1/8 tsp
Heavy cream -1/2 cup
Method:
1.Whisk together the flour, salt and sugar or pulse them together in the mixing bowl of your food processor.
2.Cut the butter into 1 inch cubes and add it to the flour mixture.
3.Process till the mixture turns little crumbly, but still there is some butter fragments.
4.Add the ice cold water 1 Tbsp at a time and run the processor.Add a couple of tablespoons more and mix well.After adding 3 Tbsp, try to hold the mixture together. If it is coming together, you are done. If not add a little more water and mix again.
5.Knead the dough on a lightly floured surface using your hand, till everything comes together.Do not over knead. Make a dics out of the dough and chill it for at least half an hour or up to a couple of hours.
6.Just before you start to make the filling, take out the dough from refrigerator and let it sit at room temperature for 10-12 minutes.Also preheat the oven at 425 degree F.
7.For making the filling, mix together the eggs and sugars first.Addthe rest of the ingredients and mix well.
8.Roll out the dough into a 1/4 to 1/3 inch disc which is about 13 inches in diameter.I rolled it on the plastic wrap so that it doesn't stick anywhere.Or else you could flour the surface lightly and check frequently for the sticking dough.
9.Invert the greased pie pan on the top of the crust and invert everything including the plastic wrap.(This is much more easier for transferring the crust when compared to all other methods I've tried so far :-)
10.Take out the wrap and gently press in the crust to fit it inside the pie pan.
11.Now gently take out the extra sides hanging out of the pan. (I didn't have much though)
12.Pinch the sides carefully so that you get a nice pattern.
13.Keep the crust covered and let sit chilled for about 10 minutes. This helps the pie crust to retain it's shape. I didn't have time to do this step and you can see that, though I pinched the sides well the end product doesn't have a beautiful outer edge.
14.Slowly pour in the prepared filling and bake at 425 degree F for 15 minutes.
15.Then reduce the temperature to 350 degree F and bake for about 50-55 minutes or until a knife inserted in the middle comes out clean.
Notes:
1.The filling is moderately sweet. If you like it sweeter please feel free to add more sugar.
2.If you do not have a food processor, use a hand blender to mix the pie crust dough. You could use your hand too, but the warmth of your hand might make the butter melt. If you need a really flaky crust, the butter should be in bits and pieces in the dough.
Contributor: Namitha
Recipe Courtesy: Various internet sites